Have you ever experienced opening a bag of diamond painting beads and some of them are stuck together and in clumps? We'll be sharing with you 3 simple tricks that will help you solve this problem!
The first trick to share is actually really simple and you most likely already have something in your kit to help you. If you see some beads stuck together and you can't remove them with your fingers, just place the beads on your tray, place another tray on top of the beads and just press it together. You might have to grind the trays gently against each other and you may need to repeat if necessary but that should do the trick!
There are also some instances where the diamonds are stuck together because of static. The best way to resolve this is by wiping them with dryer sheets. You can also wipe your diamond painting pen, tweezers, and tray to remove the static. After wiping your beads and tools, cut small strips of dryer sheet and put them in your containers. This will ensure that your beads will not clump together again and be ready for you to use when you need them.
Here's a sample photo Heather shared with us in our Facebook group. She puts small dryer sheets in each of her containers even the ones in the ziplock bags. Keeping them this way to ensure her beads are always ready once she needs them.

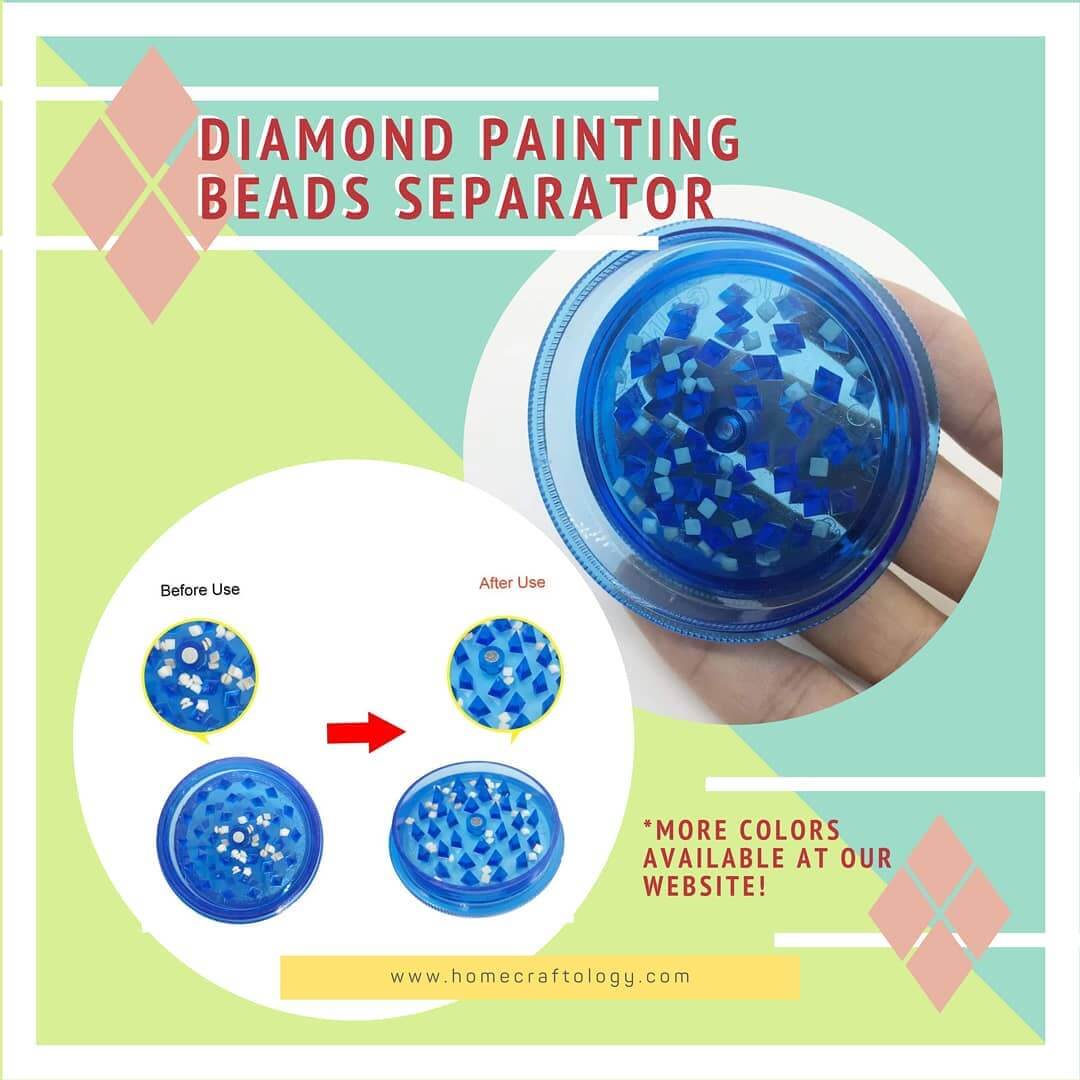
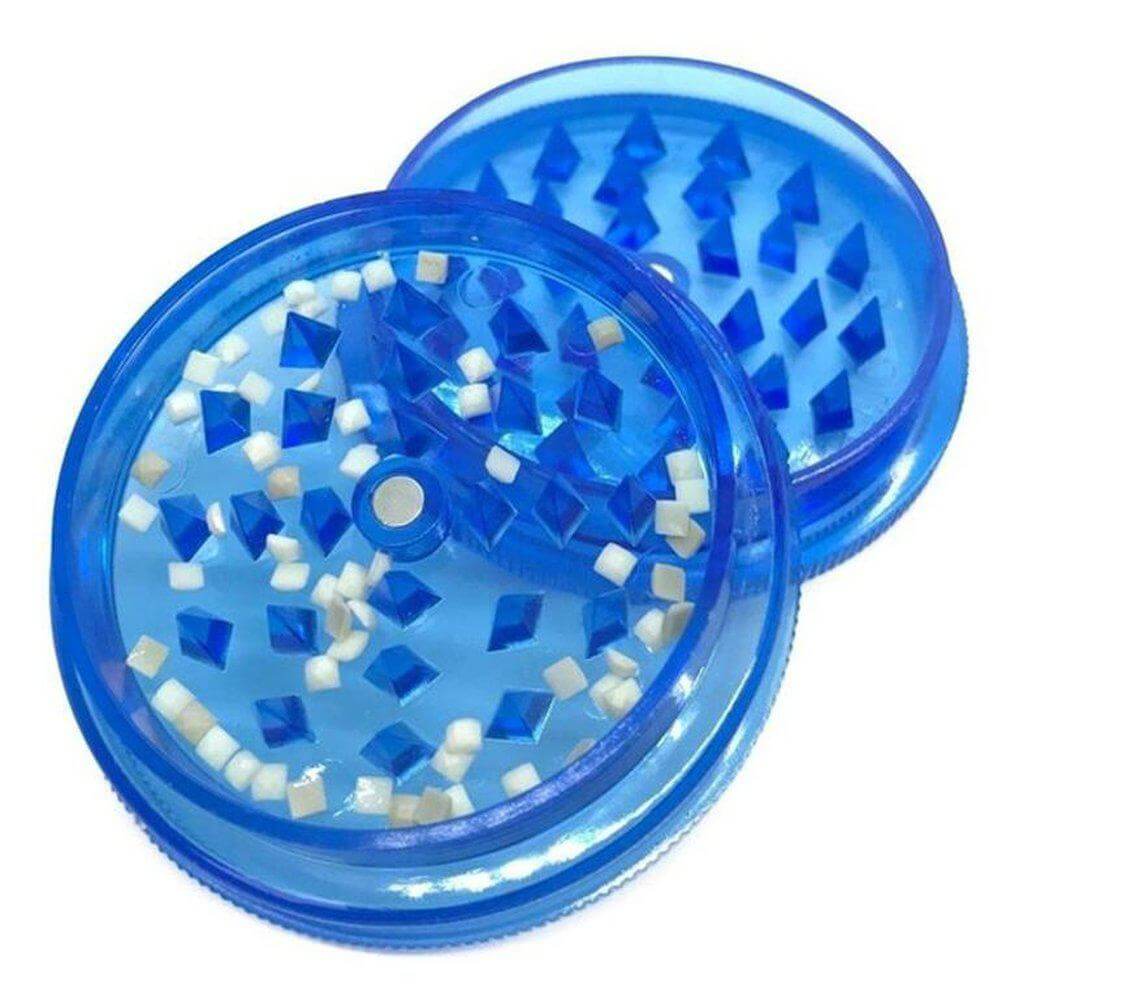
There is another tool you can use, it is a Diamond Painting Beads Separator. This is so easy to use as you just put the beads inside, close the lid, and turn it clockwise. This tool will help grind the beads safely and separate them. You definitely won't need to worry about damaging your beads in the process.

Diamond Painting Beads Separator

€11,23
NEVER WORRY ABOUT SEPARATING STUCK DIAMONDS AGAIN This beads separator is the only tool you'll need to help separate the diamonds that are stuck together. This is the easiest and most efficient tool to use without damaging your beads. … read more

